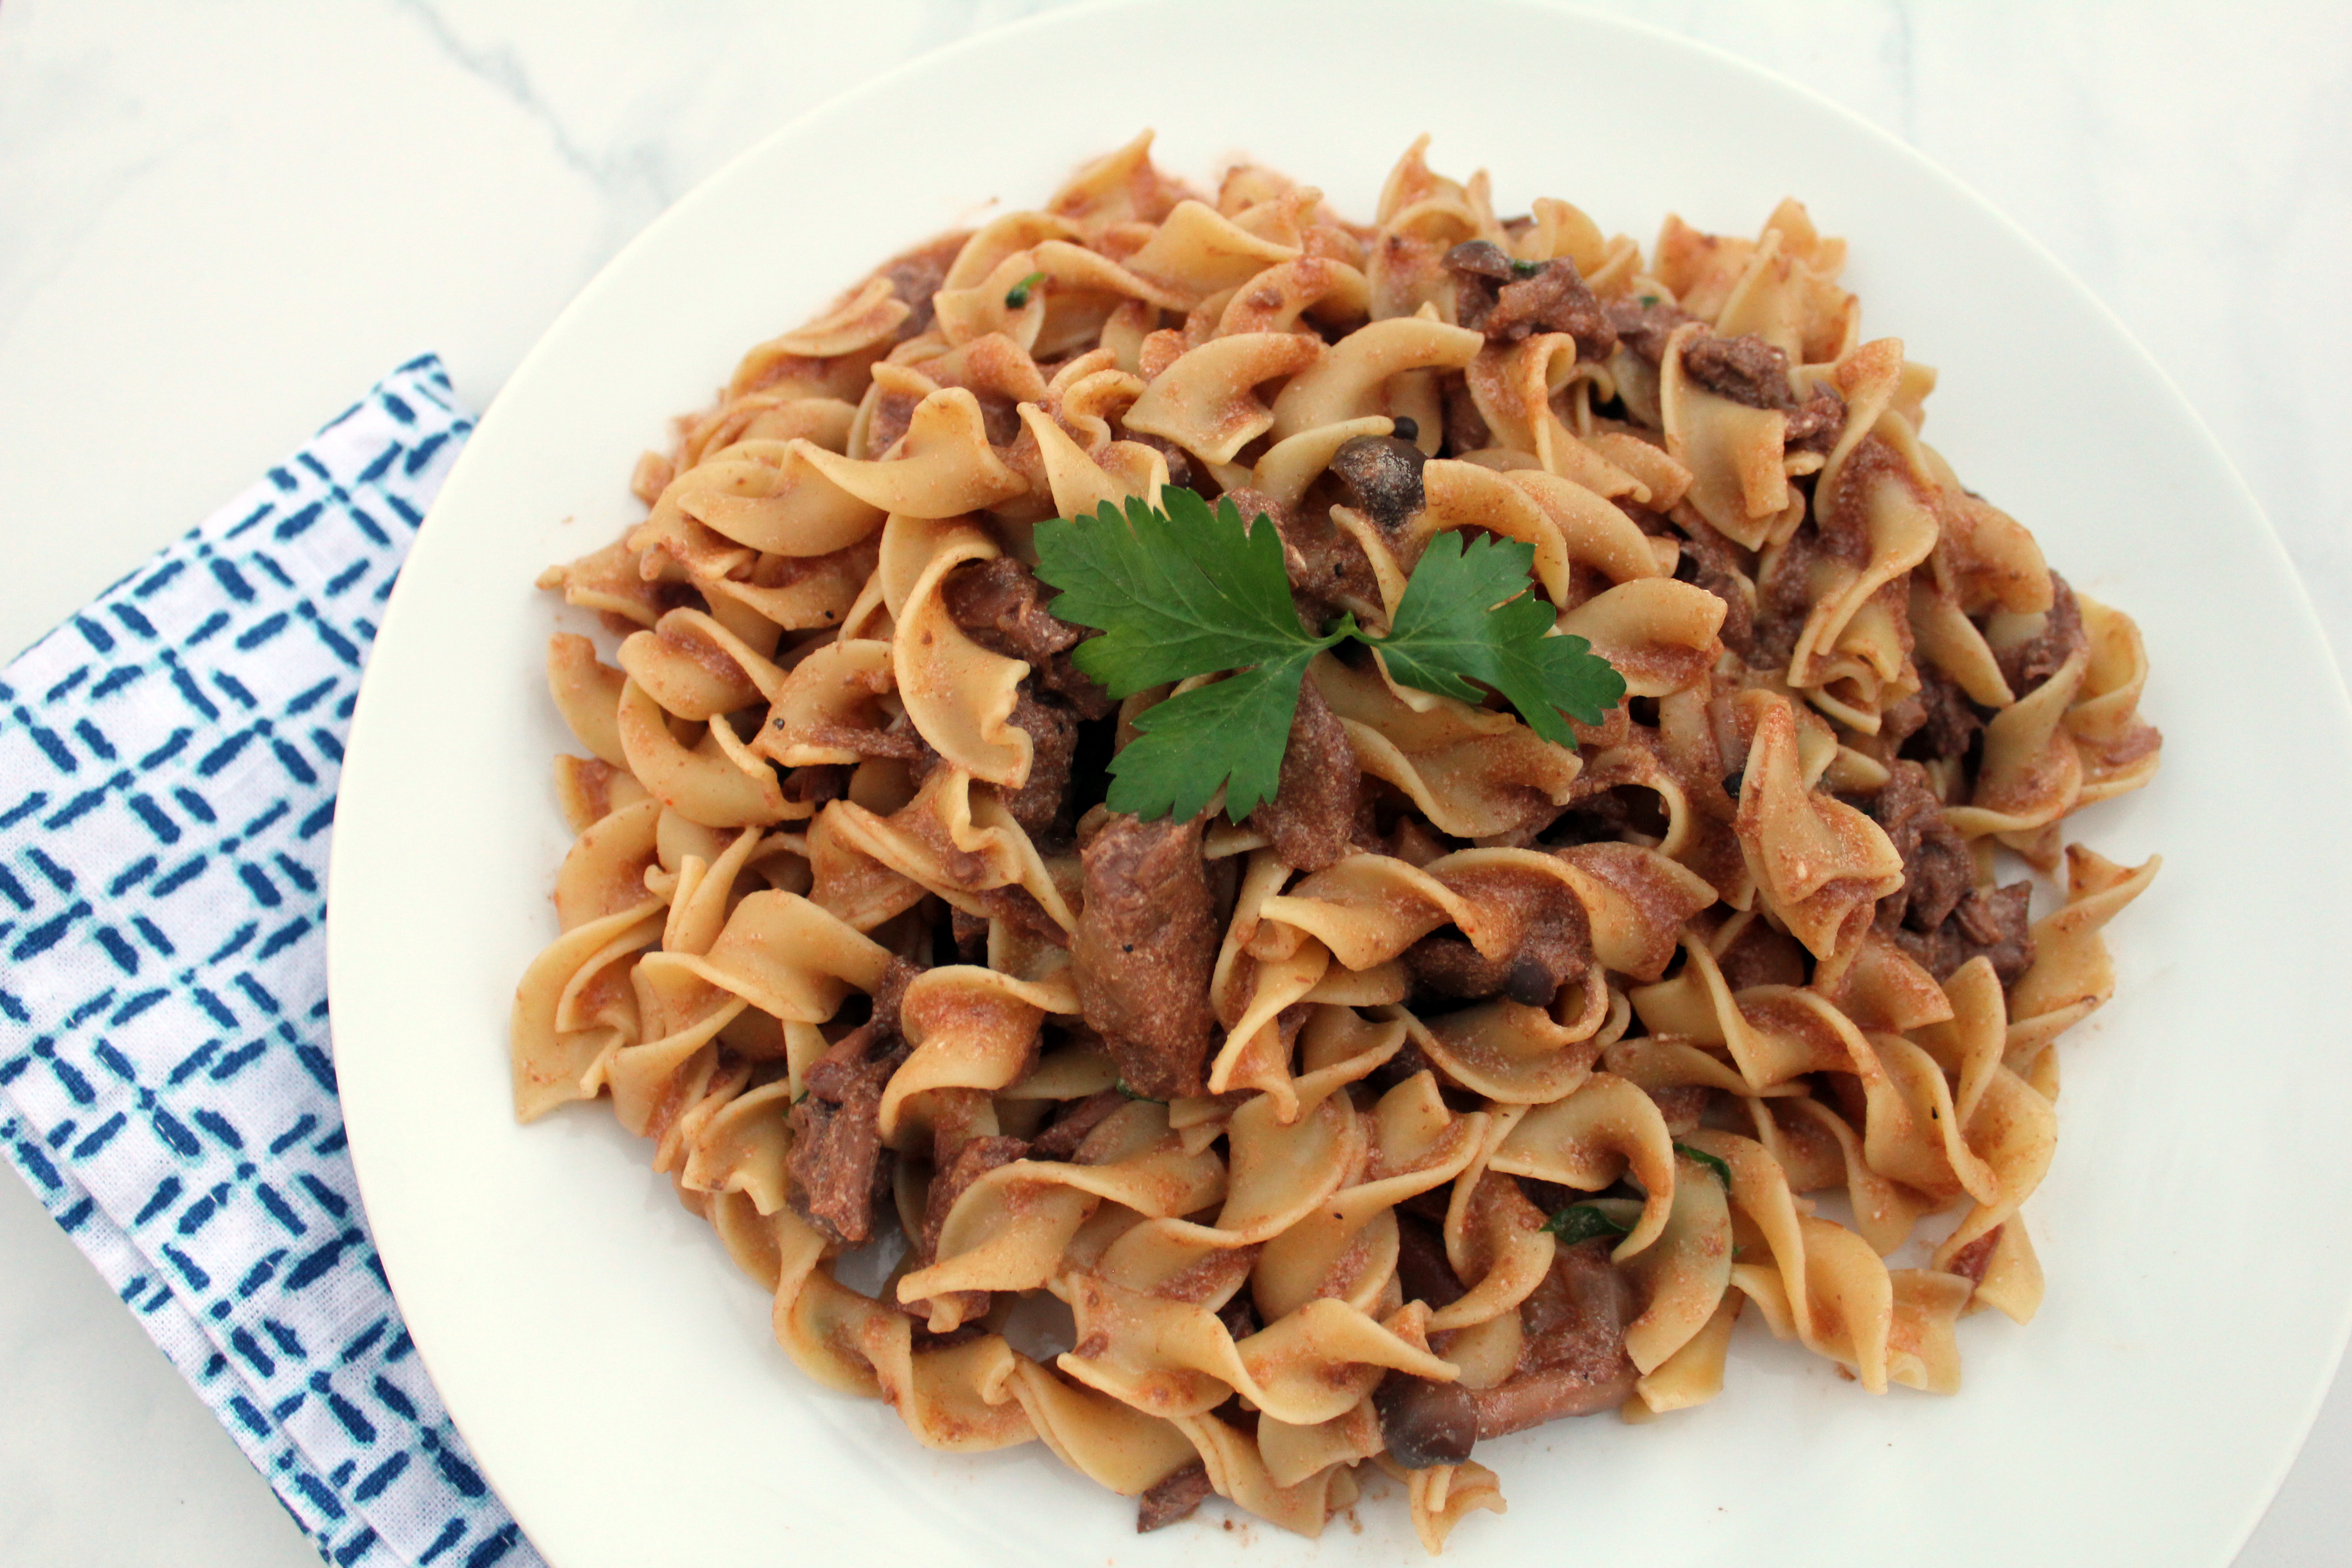
OK, so this isn’t the healthiest thing I’ve ever made, but lordy, it sure hit the spot… for everyone!
This is going to sound anti-Iowan, heck, anti-American, but Kevin and I just don’t make/eat potatoes like we used to. Generally, we eat fairly healthy, and in today’s society, consuming anything potato related has unfortunately become condemned. But being the meat and potatoes kinda folks that we are, every once in a while, you just want a damn potato! So sorry gluten-free, dairy-adverse, paleo consuming cross-fit nuts—this recipe just isn’t for you. But, if you’re a classic American that is ready to put on their elastic-band stretchy pants and devour a ton of dairy and carbs, even if it’s just for the night, please read on!
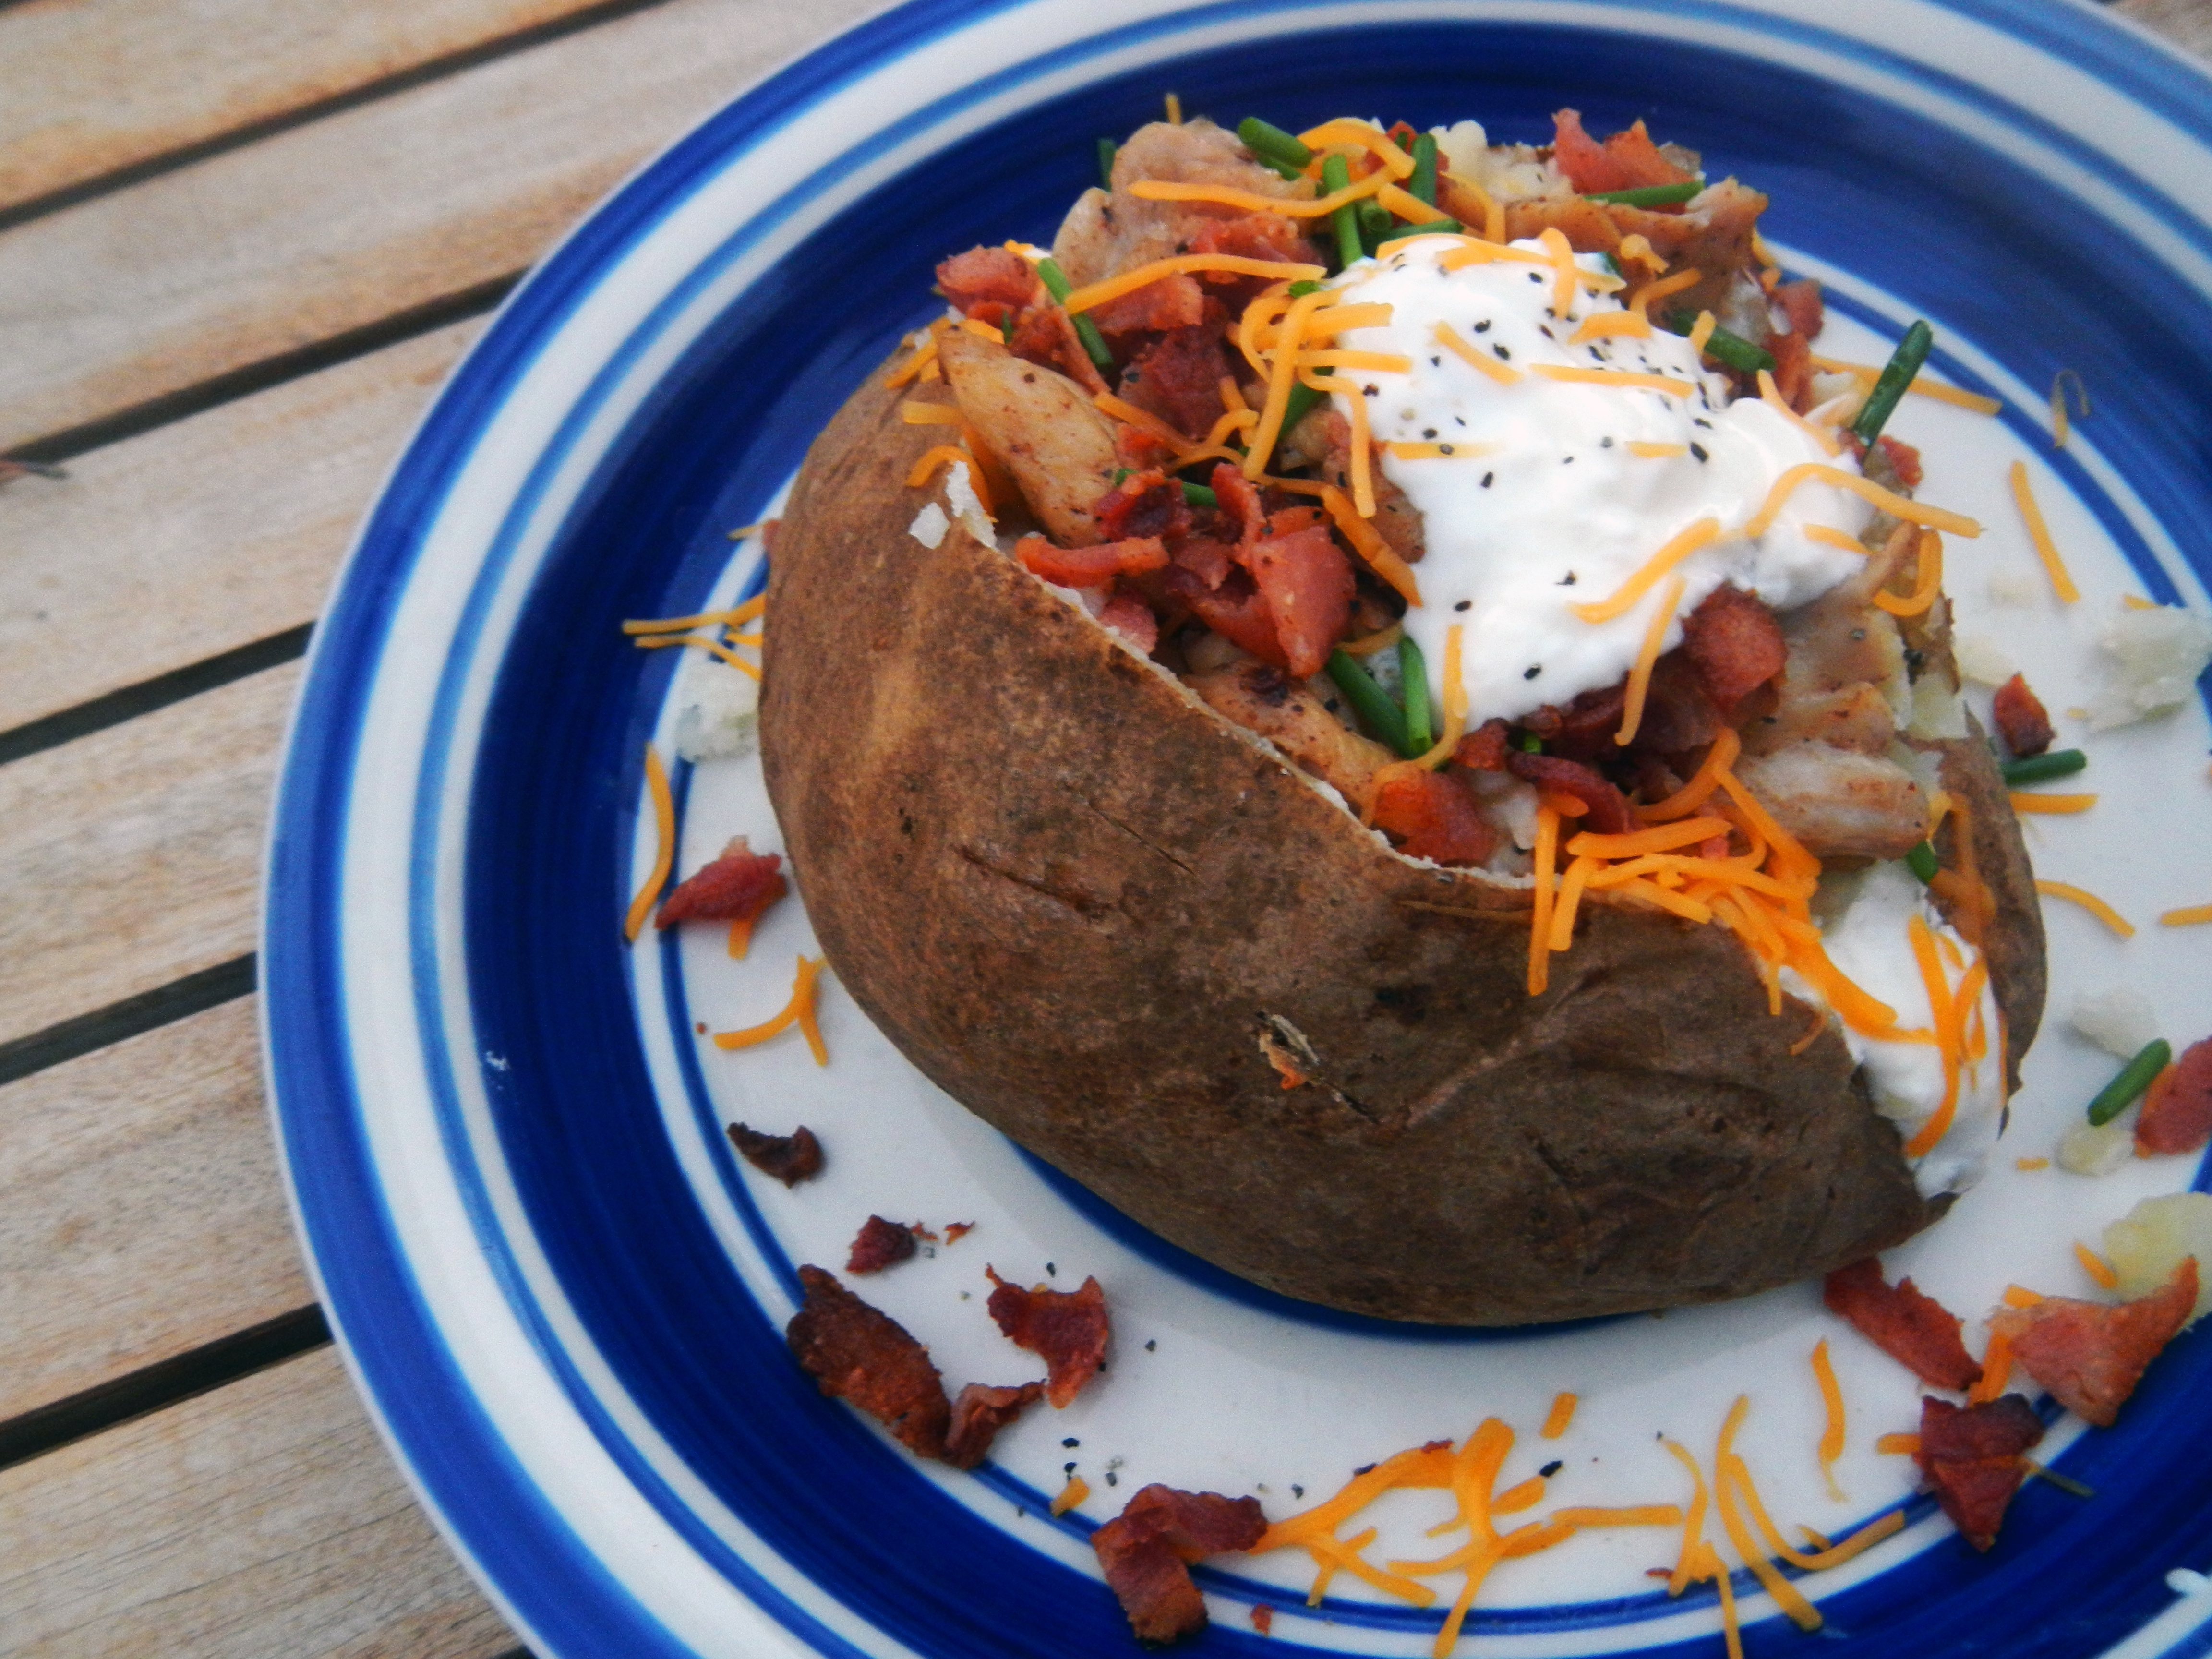
The Ultimate Colossal Twice Baked Potato
Ingredients
4 Colossal sized Russet potatoes
2 Boneless skinless chicken breasts (cooked and chopped)
1 Cup sour cream
4 Tbsp. butter (half a stick, slightly melted)
1 Package of bacon (fried and chopped)
2 Tbsp. Chives (chopped)
1 Cup shredded cheddar cheese
Salt and pepper to taste
Word of note before beginning. There are two ways to cook your potato. Mircrowave and conventional oven. Since I personally prefer the oven (One, because it tastes better and Two, because I’m not much of a microwave fan to begin with) that is the route I am taking. But, if you’re pressed for time (because these big bad boys will take time in the oven) feel free to zap them if you prefer.
Preheat your oven to 400 degrees. Scrub your potatoes clean, free of dirt, and use a knife to poke various holes in them. Wrap each with tin foil and place them on a baking sheet. Place your wrapped potatoes in your preheated oven and bake for a good two hours, turning them over every half hour or so. If you are using smaller potatoes, make sure to decrease your baking time.
After your time has passed, pull your potatoes out, and with oven mits on (because they will be hot!) lightly squish your potato to check for doneness. Your potato should give a bit and should feel soft. If your potato is done, unwrap them from the tinfoil and using your knife, cut a slit the length of the potato (but do not cut it in half!) Scoop out the majority of the white fluffy insides of the potato, adding it to a mixing bowl. Keep your potato shell (the skin) intact as you will be using it later. Once all of the white potato insides have been transferred to the bowl, lightly mash in your butter, sour cream and salt and pepper. Whip until you have a nice consistency. Gently spoon the contents back into the potato skin shells and place the potatoes back into the oven for ten more minutes.
After your potato has been twice baked, remove it and add atop all of your fixins! You can really use whatever you want but we were simply craving the classics! Serve hot and with stretchy pants on. Don’t feel guilty about this wonderful meal—everyone, even health nuts, deserve a splurge every once and awhile!