Whether I’m hosting a party for 20 or a party for 2 (hello date night!) wine and appetizers are a key element to any successful get together. There is a reason friends and family gather round the kitchen, and it isn’t just for our warming personalities 😉
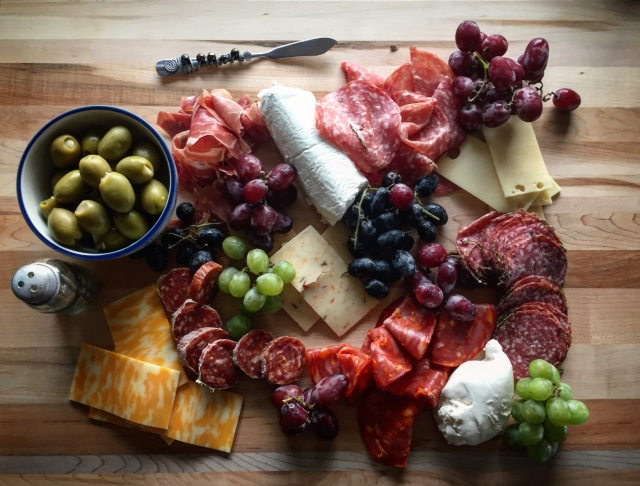
Lately, I have become obsessed with charcuterie boards. It covers my need to have food on the table but also creates a stunning centerpiece that can be created on a dime and in a moment’s notice.
First, you will need a cutting board as the foundation for your charcuterie platter. I found a 18×24″ pine cutting board at HomeGoods for less than $25–a steal for a board of that size!
Next, you need the pièce de résistance–the food. Traditionally, charcuterie boards consist of meats, cheeses, breads and fruits. Some of my personal favorites, again trying to stay on a dime:
MEAT
Dry Salami
Prosciutto
Sopressata
Capicola
CHEESE
Brie
Swiss
Chèvre (goat cheese)
Burrata/Fresh Mozzarella
Pepper Jack
Manchego
FRUIT
Seedless Grapes (a combination of both white and red grapes will make for a more colorful board)
Pears
Orange Slices
Stuffed Olives (I use either garlic or blue cheese)
Preserves
CARBS
Crackers
Sliced Baguette
Tip: Trader Joe’s has some of the cheapest above items around. You can put together a full board for under $20. Make sure to keep some handy in the fridge for impromptu gatherings!
Charcuterie Boards for inspiration:
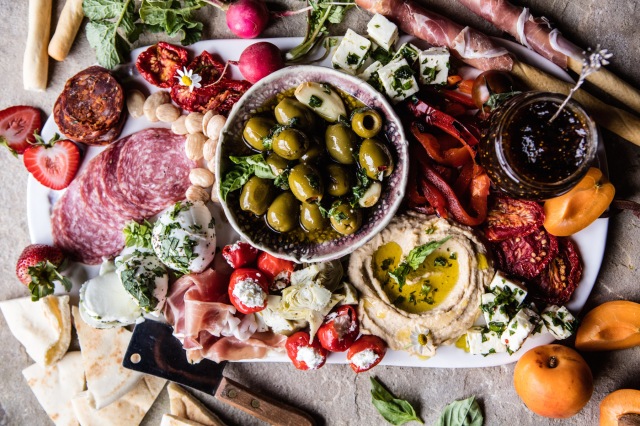
Greek inspired antipasto platter by Half Baked Harvest
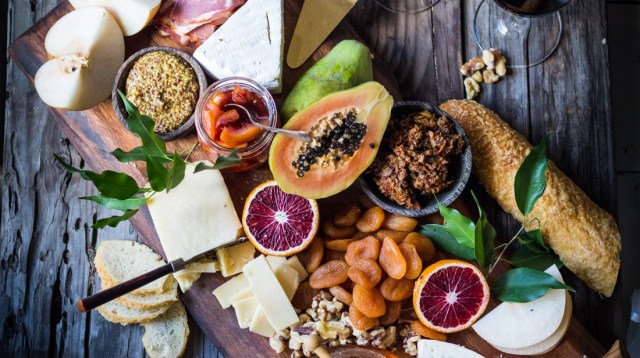
Winter cheese board with blood orange marmalade by Feasting at Home

Vegan cheese platter by The Healthy Hour
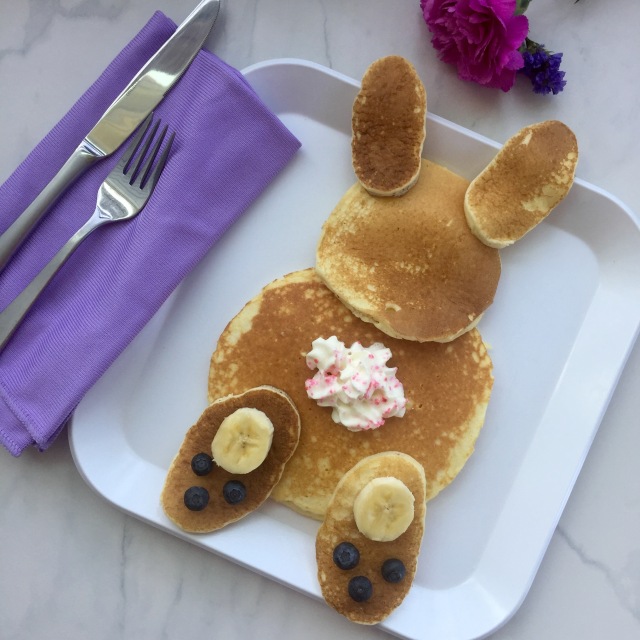 If you want a really simple and adorable Easter breakfast recipe, may I recommend bunny butts. No matter what the age, I promise you’ll get a smile or two. And how easy?! We’re talking your basic pancake, some fruits and viola! Bunny butts!